OpenDingux Toolchain Documentation
This page aims to be a step-by-step tutorial and resource about my OpenDingux Toolchain.
Features
- Meson build system
- Up-to-date GCC 10.2.0 with C and C++20 support
- Helper scripts for making development and debugging easier and quicker
build_opkfor creating OPK files from multiple files and foldersduxlinkfor quick installation, running and gdb debugging of OPK files on a connected OpenDingux device
- Libraries
libdingux, the toolchain's support library for easy access to the device's hardware featuresSDLandSDL2, a commonly used graphics and multimedia libraryGLES 2.0support for GPU hardware accelerated applications
- Templates and example projects
- Simple console applications
- Application that uses the home menu's file selector
- Application with a manual visible in the home menu
- SDL and SDL2 base projects
- GLES example using SDL2 and nanovg (broken on current OpenDingux but will work with newer releases)
Setup
This toolchain was developed mainly for Linux systems, however it runs completely fine on Windows under WSL too.
- Download the latest version of the Toolchain from here:
- Extract it to a common location, for example
/opt/dingux_toolchain, using theunzipcommand. The rest of the guide will assume you installed the toolchain in this location.- If you're on Windows under WSL, DO NOT extract the zip file with WinRAR, 7Zip or any similar tool as it will break permissions.
- If you're on Windows under WSL, DO NOT extract the zip file onto one of your Windows drives as it will break permissions. Instead choose one inside your WSL setup (e.g
/opt/dingux_toolchain).
- Enter the toolchain folder and run the
./setup.shscript to setup important files in the toolchain. - Either add
source /opt/dingux_toolchain/envvarsto your/etc/profilefile if you have root access or runsource /opt/dingux_toolchain/envvarsmanually each time you're using the toolchain. - Done!
To cleanup the toolchain at a later date, run ./setup.sh clean
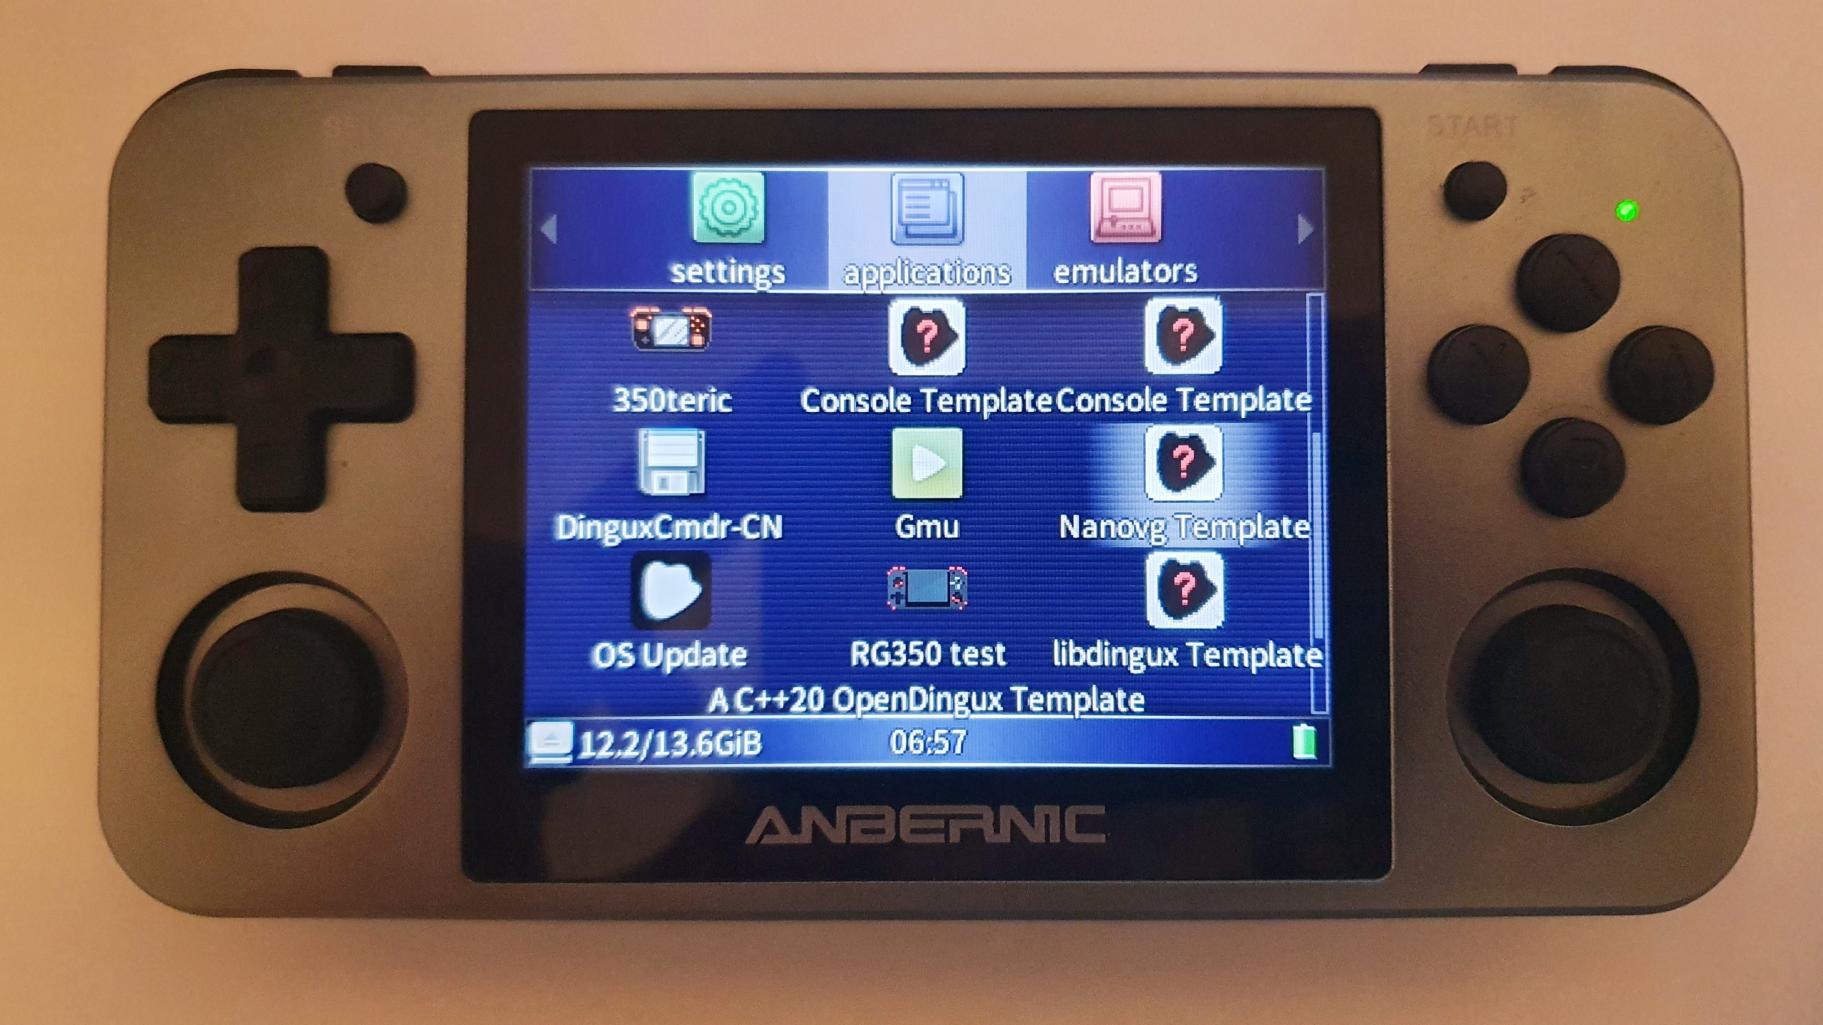
Building the example
The toolchain contains multiple example projects and templates for various uses. They can be found inside the templates directory.
- Copy the example you want to build into your development folder.
- Setup the build system using the
meson build --cross-file=dinguxcommand - Write your code keeping C and C++ files inside the
sourcefolder and header files in theincludefolder.- When adding new
.c / .cppfiles, make sure to add them to thesourceslist inside themeson.buildfile. - Any other files that should be bundled with the OPK can be added to the
resourcesfolder. They can later on be accessed in the code using a relative path to it e.g"resources/logo.png"
- When adding new
- To compile your code, use the
meson compile -C buildcommand- To compile your code and immediately install the generated opk file onto your OpenDingux device run
meson install -C build.- Make sure to plug in the device using the Device right USB port (Marked as
USB/DCfor example, NOT theOTGone) - The scripts assume that a device is available under the IP address
10.1.1.2without any password. Confirm these settings in thesettings/Networkapplication on your device.
- Make sure to plug in the device using the Device right USB port (Marked as
- To compile your code and immediately install the generated opk file onto your OpenDingux device run
TLDR;
meson build --cross-file=dinguxonce for setupmeson compile -C buildfor compilingmeson install -C buildfor compiling and installing
Using duxlink
Duxlink is designed after the nxlink tool using for Nintendo Switch homebrew. It's used to directly install OPK files on your OpenDingux device, run them or debug them using gbd. OPK files are installed on the internal SD card in /media/data/apps. To use the run or debug option, the OPK file must already be present in /media/data/apps.

Example usage
$ duxlink install application.opk
  Installing...
  16384 bytes transferred
  Done!

$ duxlink run application.opk
  Hello Dingux!

$ duxlink debug console_template.opk
  GNU gdb (GDB) 7.7.1
  ...
  Type "apropos word" to search for commands related to "word"...
  Reading symbols from opkrun...(no debugging symbols found)...done.
  (gdb)
libdingux examples
To use libdingux, it first has to be build the same way all other projects are build. Don't forget to run meson install -C build at the end to move the static library file to the right location!
Types
libdingux defines many type aliases for standard types. For example u32 for std::uint32_t, a 32 bit unsigned integer or vs8 for volatile std::int8_t, a 8 bit volatile, signed integer.
  u32 address = 0xDEADBEEF;
  vu32* reg = reinterpret_cast<vu32*>(address);
TypeSafe<T> is available for type-safe versions of standard types.
  using Capacity = TypeSafe<u32>;
  using Price = TypeSafe<u32>;

  // TypeSafe<T> prevents issues where 1000 things are sold for 10$ by accident
  // instead of 10 things for 1000$ by preventing implicit type conversions
  sell(Capacity(10), Price(1000));
Button input
On the RG350 and similar models, button input can be read from the /dev/input/event0 event.
static dux::sys::Input input("/dev/input/event0");

int main() {

  while (true) {
    // Update pressed buttons
    input.scanInput();

    // Get Pressed, released and held buttons
    auto pressedButtons = input.getPressedButtons();
    auto releasedButtons = input.getReleasedButtons();
    auto heldButtons = input.getHeldButtons();

    // True if the A button was pressed (true for one frame after pressing the button)
    if (pressedButtons.A) { /* ... */ }

    // True if the A button was released (true for one frame after releasing the button)
    if (releasedButtons.A) { /* ... */ }

    // True if the A button is being held down
    if (heldButtons.A) { /* ... */ }

  }
}
Framebuffer drawing
This should not be used unless absolutely necessary as it will not work anymore in updated OpenDingux versions. Instead use SDL or SDL2.
#include <dingux.hpp>

static dux::sys::Framebuffer fb0("/dev/fb0", 3);

int main() {

  u8* framebuffer = fb0.getAddress();
  std::size_t framebufferSize = fb0.getSize();
  u8 numberOfFrambuffers = fb0.getNumberOfFramebuffers();

    while (true) {

      // Fill all framebuffers with a white color
            std::memset(framebuffer, 0xFF, framebufferSize * numberOfFrambuffers);

    }

    return 0;
}